My Top 5 Essential Plugins for any WordPress Website in 2021

Plugins can do a number of things from keeping your website safe and secure to optimising it for SEO and speed. These are the top plugins every WordPress website should have. 

What is a plugin?

A plugin is a piece of custom code you can install on WordPress to level up your website with new features and functionality. Plugins allow you to add things like contact forms, create an online store, optimise your site for speed/efficiency, adjust or resize photos/videos, customise fonts, add image galleries, animations, and tons more  functional and useful elements to your website.

How plugins take your website to the next level

Installing plugins on your WordPress website will essentially enable you to sell your products or services, take online payments, show off your work, take bookings or reservations, and almost anything else you could possibly need without any knowledge of coding!

You might also want to use plugins to add the following functionality to your site:

  • An ecommerce plugin to sell your products or sevices
  • A gallery plugin to present your portfolio of work
  • A Google maps plugin showing where your business is located
  • A social share plugin to add social media share links to blog posts
  • An SEO plugin to help boost your Google rankings
  • A website security plugin to prevent hackers or spammers damaging your website

These are just a few potential uses the millions of WordPress plugins available can have for your website.

These are my top five essential WordPress plugins for your website

1. UpdraftPlus

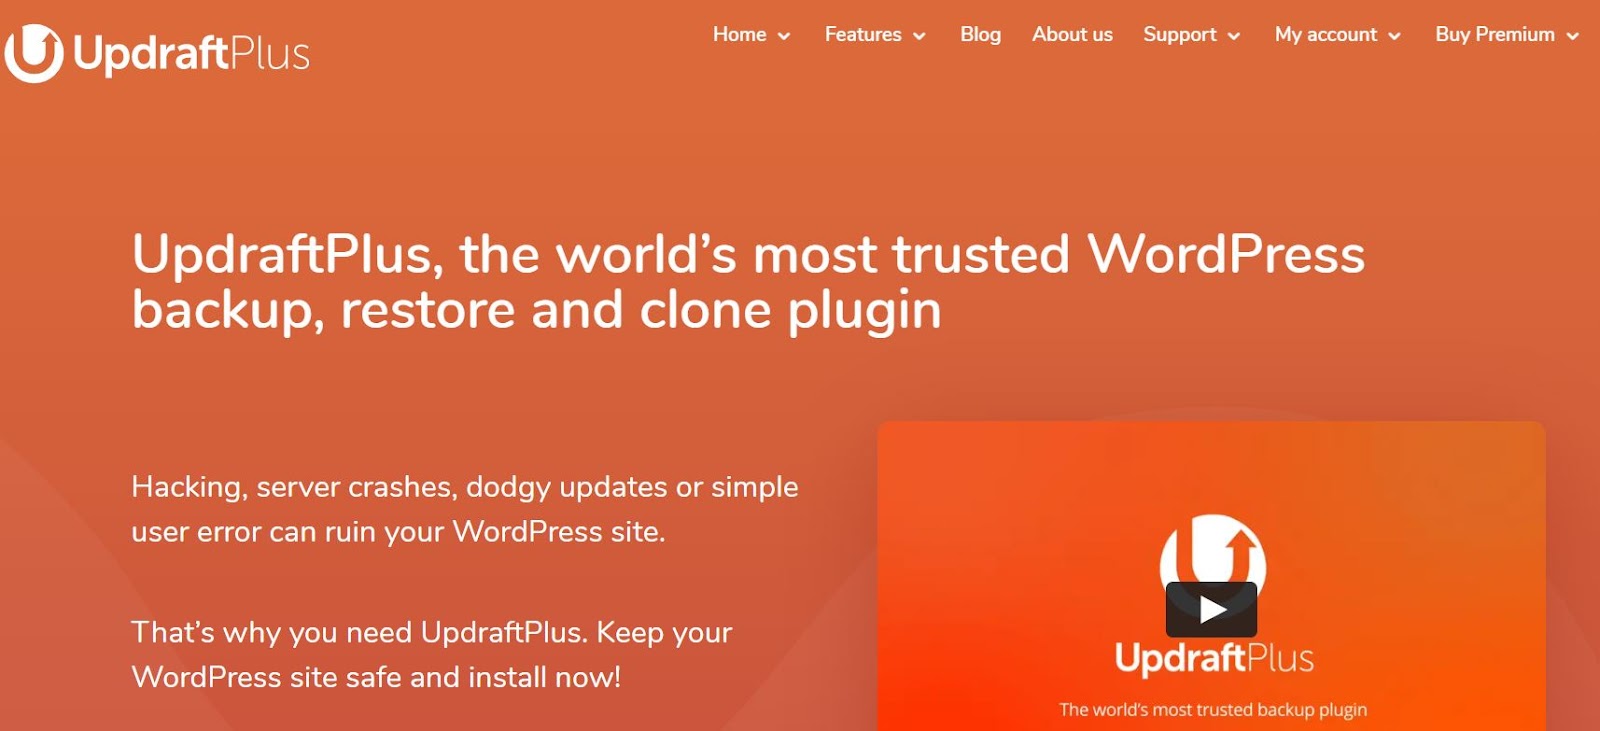
UpdraftPlus refers to itself as “the world’s most trusted WordPress backup, restore, and clone plugin,” and I have to agree. This plugin creates auto backups of your website in order to keep it safe and ensure you can easily restore it should it break or get hacked.

Plus, UpdraftPlus connects and auto exports backups to all your favorite cloud storage services like Dropbox, Google Drive, and more. You can schedule backups as you wish, and use the plugin to copy and migrate an entire website from one server to another. UpdraftPlus has both a free and Premium version with extra functionality.

2. Yoast SEO

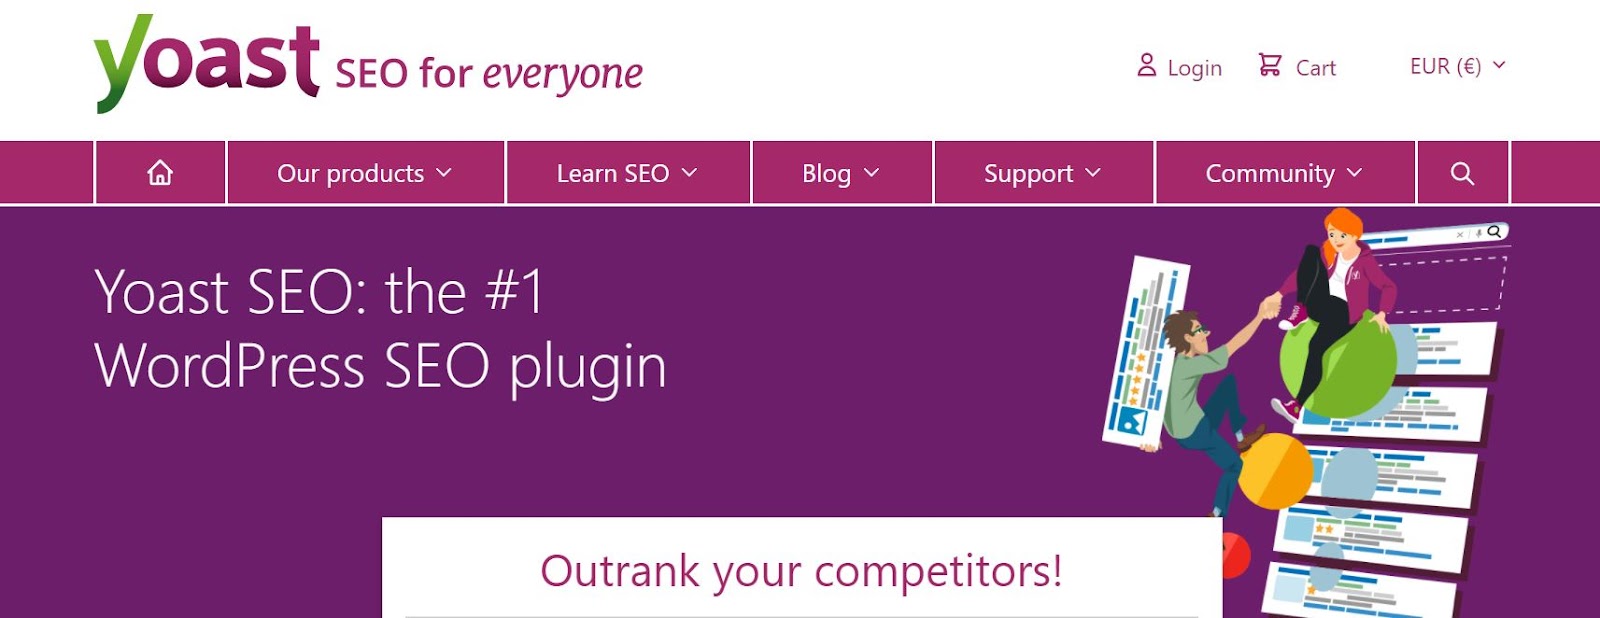
Increase your website’s SEO performance by using the Yoast SEO plugin. This handy plugin comes with both a free and paid version, and I find the free version to be surprisingly advanced. It allows you to add a keyword or key phrase to each page and = grades your content with a traffic light system so you know which pages need work (red) and which are well-optimised (green). You also have access to Yoast’s free SEO courses which will help you learn more about this key topic.

The paid version of Yoast goes even further, allowing you to customise your text based on more than one keyword, set categories for your posts, mark your links as no-follow, adjust your text based on the Flesch Reading Ease score, and more. In sum, Yoast SEO will ensure your blog is best optimised and will rank higher in Google, therefore resulting in more visits.

3. Smush

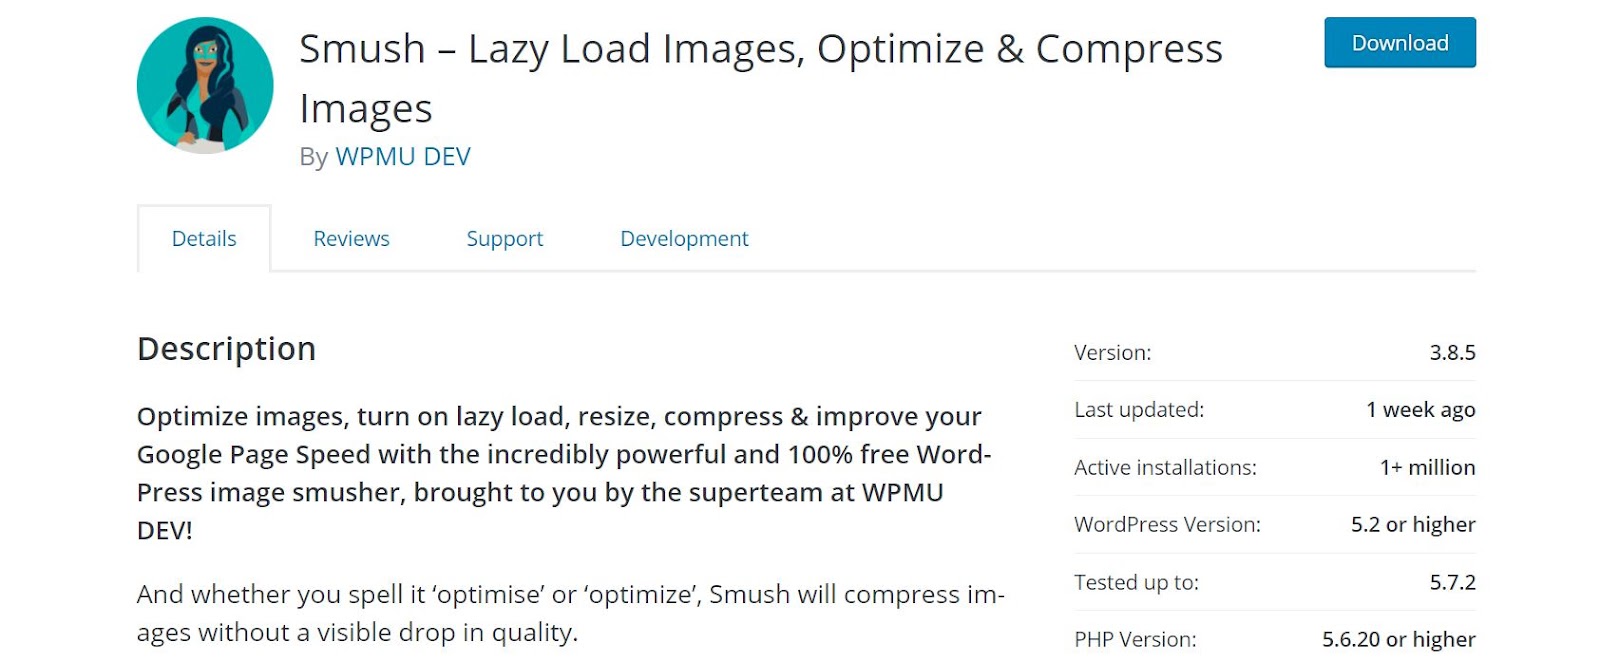
Smush is a plugin that compresses and optimises your photos, which leads to your website running in a speedy and efficient manner. Basically, this plugin strips away unused data, compressing images without lowering quality either whilst you’re uploading images or to previously uploaded images.

I especially love the ‘bulk smush’ feature, where you can optimise and compress up to 50 images in a single click. And, with Smush, you can easily locate any images that may be causing your site to move slowly, fixing them with the click of a button. It’s also worth noting that this plugin works with JPEG, GIF, and PNG files. Smush also comes with a PRO version option.

4. Hummingbird

The Hummingbird plugin comes straight from the creators of Smush, and is the perfect complementary tool that can help improve your site’s performance and speed alongside Smush. The plugin does things like compresses your website’s code, adds browser caching, defers CSS and JS files, and more.

If none of this makes sense, don’t worry. Basically, while Smush optimises your photos, Hummingbird optimises everything else, including all the backend stuff you don’t see, to make sure your site runs smoothly and quickly.

5. Elementor

Elementor is a page builder plugin allowing you to build your own web pages with a drag and drop system, without any code. You can also use it to add things like image sliders, contact forms, questionnaires, polls, and generally extend and expand the functionality of your WordPress site. 

Using Elementor’s 80+ widgets, you won’t need to download additional plugins, as you can do so much with just this one. Plus, Elementor works with almost any WordPress theme and any other plugins you do decide to use. Advanced WordPress users should consider opting for the Pro version to access premade page templates and additional widgets. 

Top tips for using plugins on your website

❌ Don’t go overboard with plugins

While adding plugins to your website (especially the top five I mention in this article) can help it run better, look nicer, and eventually get more visitors to the site, don’t get too crazy. If you download too many plugins, your site may actually slow down, or incompatible plugins may cause conflicts and break things. As a rough estimate, I advise not using any more than 20 plugins per site if possible.

✅ Do these things before downloading plugins

Before downloading a plugin, make sure to decide if you really need it. If so, download it from a reputable source including the WordPress plugin directory, a marketplace such as Envato or the developer’s official website. Testing your site’s performance before and after adding the plugin is also key — if the plugin is actually making your site sluggish or is clashing with another, that may outweigh any benefits.


The Best Green Web Hosting Providers for Eco-Friendly Websites

Photo by Sungrow EMEA on Unsplash

When you think about operating a green business, eco-friendly websites probably aren’t the first thing that comes to mind. You may consider having your office go paperless or implementing a recycling program, even outfitting your space with some plants.

But eco-web hosting is the face of the future — and it’s also a very simple way to reduce your company’s carbon footprint

Did you know that the internet uses up to 6% of all electricity worldwide? And that number is only growing as the internet becomes an even larger and more powerful international resource. In fact, according to Green Geeks, “Data Center pollution is expected to grow to 14% of the world’s carbon emissions by 2040.”

But you can do your part to ensure your business, or at least your website is eco-friendly. While there are many ways to make your website more sustainable, one of the easiest (especially if you’re starting from scratch) is to use an eco-friendly web host. Below, I’ll share my top recommendations for my favorite green web hosts.

1. Green Geeks*

Although Green Geeks hails from the USA, this eco web hosting company has data centers in spots outside of the country such as Amsterdam and Toronto. 

Green Greeks* puts back three times the amount of power consumed in the form of renewable energy. With customers from over 150 countries, this global brand of green hosting has top-of-the-line speed technology and advanced security. The company also prides itself on being dependable, featuring 24/7/365 support and a 99.9% uptime guarantee. This is an eco-friendly organization that users can really count on.

The hosting platform works with the Bonneville Environmental Foundation to support renewable energy to combat the carbon footprint of your website. And, the company has been recognized by the United States Environmental Protection Agency as a Green Power Partner since 2009.

Green Geeks Hosting Costs

Basic WordPress web hosting* starts as low as just $2.49 per month, which includes things like a free SSL certificate, free nightly backup, and free domain name for your first year.

2. Eco Web Hosting

This UK-based green web hosting company plants trees to offset the carbon footprint of your website. Depending on your needs, there are various green hosting packages available. Some, like the basic web hosting plan, plant up to four trees a month, while the managed WordPress option plants up to 10 trees per month.

As of data from January 2021, they’ve planted over 30,000 trees around the world, which is equivalent to nearly 6km squared of sea ice saved, or over 2,400 tonnes of rubbish recycled!

Eco Web Hosting makes it a point to note that sustainable hosting doesn’t mean slow hosting. Using technology such as Enterprise-grade NVMe disks, NGINX Edge caching and a global CDN, Eco Web Hosting’s green hosting offers impressively fast page-loading speeds that beat out much of the competition.

Eco Web Hosting Costs

The most basic plan starts at £3.49 per month, and includes things like 50GB+ of bandwidth and a global CDN. Expect to pay more for premium plans. You can try Eco Web Hosting for 45 days with a full refund if you’re left unsatisfied. 

3. HostPapa 

For those located in countries part of the European Union, HostPapa has locations all over the EU, though the green hosting company got its start in Canada. All of the energy used to power the services, data centers, and offices at HostPapa is 100% green renewable energy.

The website also offers banners users can add to their own websites hosted by HostPapa stating things like, “This website is powered by 100% renewable energy.” After all, why not spread the word that your website was created with sustainability in mind, and help others consider using eco-friendly web hosts for their websites, too!

HostPapa Green Hosting Costs

Basic packages including email and business apps start at €2.95 per month, and you can try their hosting with a 30-day money-back guarantee.

4. Kualo 

For anyone looking for green hosting in the UK, Kualo is an alternative to the aforementioned Eco Web Hosting. Kualo goes as far as to state that the internet is a “menace to the environment” and a “filthy carbon-emitting monster.” But it doesn’t have to be this way, especially if you use Kualo to host your site.

Kualo is a climate-positive business, meaning the company offsets their carbon use by planting trees (over 26,000 to date!). They also plant one tree for every order received, as well as additional trees for their employees each month. Their UK data center uses 100% green sourced power as specified by E.ON and as regulated by Ofgem, and their US facility uses 100% renewable energy, as certified by Green-e.

Kualo offers domain registration, eco-friendly web hosting, website setup, and beyond.

Kualo Green Hosting Costs

The most basic plan starts at £2.99 per month and includes things like 10GB of disk storage and a free domain with an annual plan.

5. Web Neutral Project

For websites based in the states, consider Web Neutral Project. This eco-friendly business states that the internet uses up more power than Russia, and wants to help users reduce their carbon footprints with their eco-friendly hosting options.

Web Neutral Project powers their data centers and servers on 100% solar power. And, you can tout your solar-powered, carbon-neutral website with a badge the company provides to let everyone know your website is truly sustainable.

The organization even offers live streams of their solar panels soaking up that light and energy in case you want to see exactly what’s powering your website. This green host also partners with The Green Web Foundation, a not-for-profit organization with a goal to make 80% of the internet green within the next 5 years.

Web Neutral Project can help you build your new site, or help your existing site eliminate up to 21% of its carbon footprint using green web hosting. 

Web Neutal Green Hosting Costs

WNP is a little more expensive than the other options. The most basic plan starts at $9 per month and includes up to 10GB of disk space and free site migration from another host. Options for premium plans are also available.

Which is the best green web hosting for you?

With so many green hosting companies to choose from, how do you pick the right one for your eco-friendly website? 

The best way to select your green host is to consider the following:

  • Your needs. How much disk space do you need to store all your web pages, images, products? How much website traffic do you expect to receive? Find a plan that works best for you and your business.
  • Your location. It’s often easiest to work with a web host located in your country. For EU or US-based websites I recommend Green Greeks* and for UK-based websites I use Eco Web Hosting. If you don’t see your country listed in any of the options above, you can search for the best eco web hosting in your country here.
  • Your budget. Whether you’re just starting out or have an established business, cost is important. Weigh your needs against what’s offered and pick what fits best pricewise with your budget.

Want to go green but need a little help? 

Get in touch and I’ll be happy to assist you in helping you create a sustainable website, including sourcing you an eco-friendly web host, domain, email account, SSL certificates, and anything else you may need. 


* An affiliate link to a company I personally use and recommend. I’ll receive a small commission if you sign up with them but it won’t effect the price you pay.


The differences between WordPress.com and WordPress.org

Photo by Markus Winkler via Unsplash

Are WordPress.com and WordPress.org actually the same thing? 

At first glance, they may seem to be, but they’re actually not.

After getting many questions from clients and friends about distinguishing between these two similarly named content management systems, I decided it worthy of an article. 

The goal? To help users better understand the benefits and logistics of both, and clear up any WordPress.com vs. WordPress.org confusion.

A little bit about WordPress.com

WordPress.com is a DIY website platform best for beginners, or non-techie people who want a do-it-yourself website creation experience. With WordPress.com, you pay a monthly fee to use WordPress as a host, and you can create your own website or blog directly on their platform  using pre-made templates and tweaking them to meet your needs. They even offer a completely free version for creating a very simple blog, however it will contain limited options and visible WordPress branding.

The pros to WordPress.com

It’s easy to set up and maintain, even if you don’t know much about making a website. The pre-made templates already look pretty good, and if your site is fairly simple, it’s a decent and manageable option, especially if you don’t have the cash to hire a web designer or aren’t particularly tech-savvy. WordPress.com also handles the security updates, backups and other important maintenance tasks for you.

The cons to WordPress.com

While the site may be easy to set up, you have limited customisation options (you can’t add any third party themes or plugins that aren’t available directly on their platform). If the website you want to create is complicated, you may find WordPress.com simply can’t provide you with what you need. Your disk space is also limited, and you can’t access your website files to edit them directly.

A little bit about WordPress.org

WordPress.org is the software version of WordPress which has to be downloaded (from here) and manually installed on your host, which can be any third-party hosting platform that’s not WordPress.com. I personally use web hosts such as Pixel Internet* (UK) and GreenGeeks* (US) but you might be more familiar with names such as GoDaddy or BlueHost. 

WordPress.org is a powerful open source system, which is regularly updated by a community of developers and contributors who work to continually improve its functionality, security and ease of use. This version of WP gives you full control over everything, including your website’s theme, plugins and the database that stores all your text content, sales info and other data.

Pros to WordPress.org

By installing WordPress on your own host, you have full control to customise  and develop your website. You can customise themes, tweak the code, add plugins, monetize your site and optimise its speed and performance — the sky is truly the limit with WordPress.org. It’s ideal for those who have a very specific idea of what they want their website to do or be capable of.

First Priority Housing Association Website Design
I custom website I built using WordPress.org

Cons to WordPress.org

WordPress.org may be difficult for anyone that’s not a web designer or developer or familiar with creating websites. It’s more complicated, but that’s why it’s better for more complicated websites. If you aren’t versed in coding, servers, databases and the like, you may have to pay someone to create your WordPress.org website. But, it will likely end up being exactly what you want, as you can ensure it’s tweaked and customised to perfectly fit your needs.

How to know which one you’re already using?

I’ve had clients come to me, confused about which system they’re already using, because it’s not immediately clear. However, it’s fairly easy to figure out. 

  • If you’re paying a monthly fee to WordPress each month, you’re using WordPress.com
  • If you’re paying another web host, it’s WordPress.org

You can also tell by the way the dashboard looks. If you see a small box at the top left hand corner that says “My Sites,” it’s the WordPress.com version.

What are the price differences?

With WordPress.com, expect to spend anywhere from 4€ to 45€ per month depending on the plan you choose. 

The WordPress.org software is free, however you’ll need to pay your web host a monthly or annual fee, and possibly for a premium WordPress template. You may also need to pay a web designer to create your site (check out my pricing here to understand what costs are involved when paying a web designer). For the last website I set up, my client paid about 4€ per month in hosting services, and about 40€ for the template, plus my fee.

Of course, if you plan to monetize by selling goods, services or displaying adverts, any money you earn from your website can cancel out some of the costs associated with creating or maintaining whichever version of WP you choose.

When figuring out which one is more costly in your particular case, it’s best to first consider what you need. If you don’t need a fancy website, clearly, the lowest priced option on WordPress.com would likely be best and most affordable.

Alternatively, if you’re in the market for a complex, bespoke site, it may actually be more cost-effective and less hassle to invest in a web designer and use WordPress.org.

So which should I choose: WordPress.com or WordPress.org?

Picking WordPress.com or WordPress.org means taking a number of things into consideration, such as:

  • Price/costs
  • Your own tech skills
  • Type of website you need
  • Where you are in your career or business

Clearly, if you’re just starting out and on a budget, WordPress.com may be your only option. Or, if you’re working in an industry where you just want to have a website to display some basic info, or don’t need to update it often, this is the simplest option.

On the other end of the spectrum, if you already have an established business, need something really advanced or have a solid budget to spend on a designer, WordPress.org is the way to go, without a doubt. And if you need a WordPress web designer, contact me. WordPress is my thing!

Either way, WordPress.com and WordPress.org are both valid ways to set up your website, and each exists to serve a particular market. It’s up to you to decide which market your business, brand or service falls into.

Can you transfer a website from WordPress.com to WordPress.org?

What happens if you created a WordPress.com site when you just started out, but need to take it  to the next level later on? Luckily, you can upgrade to a more expensive plan with more features whenever you need.

Alternatively, a WordPress.com to WordPress.org migration is also possible, and I can also help you to move and seamlessly upgrade your site without losing key data or important blog posts. I recently did this for a client and it was surprisingly easy.

Whichever option you choose, migration is always an option, so don’t worry! Just select whatever best fits your business in the present moment, and down the line, you can always transfer or change it.


* An affiliate link to a company I personally use and recommend. I’ll receive a small commission if you sign up with them but it won’t effect the price you pay.


Why WordPress is the Best Platform for your Website

Photo by Launchspresso via Unsplash

So you’re thinking of setting up a new website. Hopefully, you’ve done all the prep, like identifying your goals/target audience, and purchased a domain and hosting package. (If not, don’t panic. I’m here to help). Now, it’s time to pick your CMS, and WordPress is (probably) the one to choose.

But let’s back up a bit. If you’re not familiar with what CMS is, it stands for Content Management System, and it’s basically the system you choose to create your site and manage its content — think text, images, products, videos and anything you add regularly. These days, there are tons of CMSs to choose from with various features and levels of complexity that cater to everyone from newbie DIY-ers to experienced web developers. Two of the most popular are WordPress (powering 27 million websites) and Squarespace (powering 2.5 million websites). 

You may have also heard of Wix, Shopify, Drupal and many other rival platforms, but in this article we’ll compare WordPress vs Squarespace as they are ranked #1 and #3 most used Content Management Systems in 2020. Whilst both have their pros and cons, in my opinion WordPress should definitely be your top choice. Read on to find out why.

WordPress offers flexibility

While Squarespace may be a good choice for a basic, beginner website, WordPress is the way to go if your website is more complicated, or you’re not sure exactly how your business may grow in the future. In fact, if you have a business at all, WordPress is the best choice.

WordPress is a hugely flexible system with almost unlimited possibilities for customisation, whereas Squarespace is more of a quick and easy, drag-and-drop setup. If you’re doing things on your own, it makes sense that you may opt for Squarespace, because it’s easy and fairly low cost (from £13 / 15€ per month). But it’s also so much more limited in terms of features and customisation.

Although you may need to know coding (or hire someone who does) to set up your WordPress site, you really have so many different options when creating your webpage, especially if you want more advanced features, like an online shop. WordPress allows you to do more, and isn’t that what being a business owner is all about: expansion?

WordPress has endless options (read: plugins)

Plugins are the bells and whistles of websites, and WordPress offers more than 50,000 of them to choose from. While I definitely don’t recommend you install that many (I usually suggest no more than 10 for a basic website or 20 for an e-commerce or more complex site), it’s extremely helpful to have such an expansive array of options to choose from. 

It’s okay if you don’t know what plugins are. Basically, plugins are what allow you to customize your website and add new features. Some of my favourites are UpdraftPlus (for creating automated backups), or Yoast SEO (for you guessed it, for SEO optimisation). And if sustainability is important to you, plugins like TinyPNG (optimises images) and Hummingbird (a website performance booster) can make your website go faster and use less energy. As I mentioned, you don’t want to go overboard with plugins, because that can slow your site down. But WordPress plugins allow you to add almost any feature you can dream of, which makes your site, well, yours!

WordPress gives you full control 

WordPress allows you full control of your website. While the site itself may be more complicated to create, it’s nice to know that you can do whatever you want with full control over your own site.

If you switch web hosts, you can move your WordPress website to a new host without losing the website’s files, pages, content, imagery and everything else it utilises. Other CMS systems like Squarespace make it difficult to export your website to a new host, meaning if you want to move your site away from Squarespace, you’ll have to rebuild your entire site from scratch!

Update and monitor your website easily with WordPress

While WordPress may seem daunting initially, once your website is set up (regardless if you’ve done it yourself or hired someone to do it for you) it’s surprisingly easy to update, monitor and maintain. 

WordPress offers an ease, once set up, that many other CMS systems don’t. It’s intuitively simple to use, even for those who may struggle with tech.

One of the simplest things to do in WordPress once it’s set up is using the back-end area for writing blog posts. If you plan to create blog posts frequently, WordPress is the CMS to choose.

WordPress vs. Squarespace: The ups and downs

The WordPress vs. Squarespace debate is real, but generally, I find WordPress really allows your website to grow and evolve alongside your business. Squarespace, on the other hand, makes everything fairly easy to set up yourself, but you are limited in what you can do.

Because WordPress offers so many options and so much flexibility, it’s harder to set up. If you don’t know a lot about CMS, coding or setting up websites in general, it’s going to be a bit of work. 

You may have to hire someone. However, getting it done right from start can help you avoid a lot of stress and website issues later on. After all, do you really want to be dealing with a website redo down the line when your business is booming? No? Then pick WordPress.

If you need help designing your WordPress site, get in touch. I’m happy to help.


How to Plan Your New Website

A detailed, 10-step guide to follow when designing a small business website.

Whether you’re setting up your brand new website or on your fifth redesign (or anywhere in between), organising before you start is the best plan of action. This go-to guide will help you focus your vision in a clear and concise manner, making it simple for you to begin your small business website design process. Read on for 10 easy steps on how to make your website. 

Step 1: Define your website’s goals and target audience

Understanding how to plan your website is an important beginning step before you do anything else. Start by making sure you have clear and attainable goals, as well as a solid understanding of your audience. This is kind of like having a business plan, but specific for your website. 

  • Consider business leads, sales, offer information and brand awareness. Note your goals, what it is you’re offering and your brand.
  • Define your audience. Who is reading your website? Purchasing your product? Signing up for your course? Is your audience gender, age or location specific?
  • Plan how you’ll convert visitors to customers. Will you have a newsletter? An email signup? CTAs on your social media accounts? How will you monetise your website?

Step 2: Buy a domain and hosting package

Now that you’ve defined your goals, your website needs a home. This is called a domain. Here are some key steps for this important step in your website design.

  • Select a domain name. When buying a domain, you’ll want something punchy, memorable and short. Of course, the name of your brand is the most obvious, or your own name, depending on your offerings. 
  • Select the right domain extension. You’ll want to consider .com, .co.uk or otherwise. Of course, much of this depends on availability, but in general, you’ll want to choose .com, as this is the easiest for customers to remember. Tech companies should consider .co or .io, and if your brand is very location specific, say, located in Spain, you’ll want to consider .es, or .co.uk if in the U.K.
  • Consider your host. Just like in real life, some hosts are better than others. Generally speaking, you can expect to pay between £2.50 to £6 per month for basic web hosting. For US-based websites I recommend Green Geeks* who offer eco-friendly web hosting starting at $2.49 per month. For UK websites, my personal recommendation is Pixel Internet*, which has packages starting at just £2.49 per month.
  • Don’t forget an SSL certificate. These are small files that attach a virtual key to your website. Basically, an SSL certificate allows for secure connections and authenticates your website. Not having this makes your site easy prey to hackers. Plus, Google tends to prioritise websites with valid SSL certificates. So, make sure your host includes this important extra. In many cases, an SSL certificate is free, but this could be a deciding factor when choosing your web host.

Step 3: Plan out the pages and features you’ll need

This step is fairly simple, and you can refer back to step one if needed (defining your business and brand).

Make a list of the pages you’ll need. Some of the most common are:
  • Home
  • About
  • Services
  • Shop
  • Blog
  • Contact
Make another list of the features you’ll need. Typical features are: 
  • Online shop
  • Payment system
  • Image gallery
  • Contact form
Consider any additional plugins or widgets you might like. Some examples are:
  • What I’m reading
  • Search boxes 
  • Countdown or regular clocks
  • Links to your social media channels

Step 4: Choose a CMS 

Deciding between WordPress vs. Squarespace may be the most complicated choice you’ll have when you design your website. Obviously, there are also other CMS options, but WordPress and Squarespace are the most popular — and with good reason. They’re both solid choices that offer a great amount of flexibility in your design. Just make sure to choose the one that can best handle your pages and additional features. Stay tuned for further articles on the WordPress versus Squarespace debate.

  • The case for WordPress: Best for those wanting something flexible, customisable and free (in some cases).
  • The case for Squarespace: Best for those wanting something easy to use, though it’s less customisable (perfect for basic sites).

Step 5: Prepare content and source images

Now it’s time to really dig in: what exactly will you be putting on your website?

  • Copy. Whether you plan to hire a copywriter or prepare content on your own, drafting it up will help you or your designer lay out pages. Make sure to consider all of your pages — including about you, your business and your services. Remember to use spell check or Grammarly!
  • Images. You can always take your own photos, or consider a stock photo subscription. There are stock image websites with free images such as Unsplash or Flicker, just make sure to read the fine print and give credit when necessary. Pay close attention to photo size, which can slow your site down if images are too large. If you need assistance with reducing image sizes, this handy guide can help.

Step 6:  Use SEO and keywords to your advantage

google-seo
  • Start with SEO. Your website needs to connect with the right users. So, you need to have the right keywords on the site in order for Google and other search engines to direct visitors there. Neil Patel’s free SEO Tool Ubersuggest, can help you find the right keywords for your site which will help it attract visitors and increase traffic.
  • Don’t forget about competition. Do your due diligence by researching competition in search engines with your keywords. In order to be the best, you’ll need to know what you’re up against. Understanding what your competitors are doing right (and wrong) will help you figure out to set up and maximise your own site. 

Step 7: Get a start on social media

Whether you hate it or love it, social media can be a powerful step to success in many markets.

  • Claim social media handles. Whether you’re ready to fully set up your pages or not, you should immediately claim your social media handles. Depending on your brand, business model and target audience, you may want to start with networks like Instagram, Facebook, Tik Tok, Youtube, Pinterest, Linkedin and Twitter.
  • Setup your pages. This part may take a bit longer, and it’s best to start with one at a time. Setting up your channels in anticipation of your website launch can work to your advantage. They can alert your target audience to your new webpage, increasing traffic.
  • Create a social media strategy. When considering a social media strategy, make sure it offers value to your target audience. Strategies vary greatly by network, but one solid tip is consistency. Have a plan and execute it regularly. And make sure to link back to your website whenever possible in order to drive traffic to the site. 

Step 8: Channel your design inspiration

Create your digital mood board for inspiration. Photo by Kobu Agency on Unsplash.

Whether you have aptitude for design or not, this is the fun part — it’s time to get creative! And don’t worry if, well, you have no clue. With a little research and time, you can easily figure out what you like and what you don’t.

  • Start a list. Design inspiration can be as easy as picking your preferred websites. It’s best to go with immediate feelings or gut instinct here. The moment you see a website — do you love it? Hate it? Easy on the eyes? Jarring colours? Too busy or just the right amount of simplicity? Choose your favourites and then figure out what it is you like about them.
  • Remember, it’s not just about aesthetics. This is also a good time to figure out what’s important to you in a website besides just appearance. Is having an eco-friendly or sustainable website important to you? Is a super speedy website essential (nobody wants to wait for a slow website loading these days)? Do you want a focus on images? Or prefer more text? 
  • Use Pinterest. Pinterest makes it easy to create a digital mood board with everything you like. Save what you love online to your boards, which can offer insight on how to design your own website.
  • Browse web design sites. Once you’ve figured out what you love (and what you don’t) and set up your moodboard of ideas, sift through web design sites like Awwwards to find a style that fits your vision. This will also alert you to any website design trends you may want to utilise for your own site.

Step 9: Prepare your branding

Consistent branding will help users get to know you and recognize your brand. 

  • Create logos, colours and fonts (or a vision for them). Revisit that Pinterest mood board or the websites you love to think about what colours and fonts work best with your brand. Consider a custom logo design that fits your brand image.
  • Hire a graphic designer. If a logo is important to you, hiring someone can ensure it’s done right if you aren’t super knowledgeable in this area. If you feel confident to do this step on your own, by all means, DIY!
  • Finesse the tone. Make sure the copy and images you’ve selected on your site fit with your brand. Consistency in this area will ensure you’re staying in line with your target audience.

Step 10: Set up your site: Hire a web designer or DIY

The moment of truth has arrived: it’s time to set up your website. 

  • The case for DIY: It’s cheaper to set up your own website, but much more time consuming. It may be frustrating to run into roadblocks along the way, and these can cause delays in your launch.
  • The case for hiring a web designer: This is an investment. Of course, it will cost you money, but likely much less stress, time and worry, allowing you to focus on the other aspects of your business. If you do decide to go with a designer, find one you feel can make your vision a reality. Make sure to provide your designer with all your ideas, content, keywords, branding vision, social media channels etc. The more information you can give, the more likely it is that your website will be designed exactly how you envisioned. 

Want to design a new website? To get started, contact me. I’m available for hire on a freelance or contract basis, and it would be my pleasure to make your website vision a reality. Contact me here for information, details and pricing.


* An affiliate link to a company I personally use and recommend. I’ll receive a small commission if you sign up with them but it won’t effect the price you pay.