

A detailed, 10-step guide to follow when designing a small business website.
Whether you’re setting up your brand new website or on your fifth redesign (or anywhere in between), organising before you start is the best plan of action. This go-to guide will help you focus your vision in a clear and concise manner, making it simple for you to begin your small business website design process. Read on for 10 easy steps on how to make your website.
Step 1: Define your website’s goals and target audience

Understanding how to plan your website is an important beginning step before you do anything else. Start by making sure you have clear and attainable goals, as well as a solid understanding of your audience. This is kind of like having a business plan, but specific for your website.
- Consider business leads, sales, offer information and brand awareness. Note your goals, what it is you’re offering and your brand.
- Define your audience. Who is reading your website? Purchasing your product? Signing up for your course? Is your audience gender, age or location specific?
- Plan how you’ll convert visitors to customers. Will you have a newsletter? An email signup? CTAs on your social media accounts? How will you monetise your website?
Step 2: Buy a domain and hosting package
Now that you’ve defined your goals, your website needs a home. This is called a domain. Here are some key steps for this important step in your website design.
- Select a domain name. When buying a domain, you’ll want something punchy, memorable and short. Of course, the name of your brand is the most obvious, or your own name, depending on your offerings.
- Select the right domain extension. You’ll want to consider .com, .co.uk or otherwise. Of course, much of this depends on availability, but in general, you’ll want to choose .com, as this is the easiest for customers to remember. Tech companies should consider .co or .io, and if your brand is very location specific, say, located in Spain, you’ll want to consider .es, or .co.uk if in the U.K.
- Consider your host. Just like in real life, some hosts are better than others. Generally speaking, you can expect to pay between £2.50 to £6 per month for basic web hosting. For US-based websites I recommend Green Geeks* who offer eco-friendly web hosting starting at $2.49 per month. For UK websites, my personal recommendation is Pixel Internet*, which has packages starting at just £2.49 per month.
- Don’t forget an SSL certificate. These are small files that attach a virtual key to your website. Basically, an SSL certificate allows for secure connections and authenticates your website. Not having this makes your site easy prey to hackers. Plus, Google tends to prioritise websites with valid SSL certificates. So, make sure your host includes this important extra. In many cases, an SSL certificate is free, but this could be a deciding factor when choosing your web host.
Step 3: Plan out the pages and features you’ll need
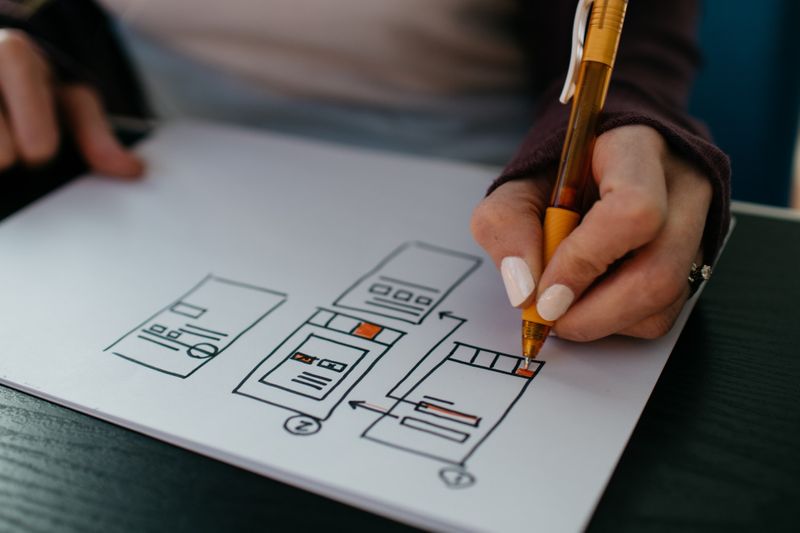
This step is fairly simple, and you can refer back to step one if needed (defining your business and brand).
Make a list of the pages you’ll need. Some of the most common are:- Home
- About
- Services
- Shop
- Blog
- Contact
- Online shop
- Payment system
- Image gallery
- Contact form
- What I’m reading
- Search boxes
- Countdown or regular clocks
- Links to your social media channels
Step 4: Choose a CMS

Deciding between WordPress vs. Squarespace may be the most complicated choice you’ll have when you design your website. Obviously, there are also other CMS options, but WordPress and Squarespace are the most popular — and with good reason. They’re both solid choices that offer a great amount of flexibility in your design. Just make sure to choose the one that can best handle your pages and additional features. Stay tuned for further articles on the WordPress versus Squarespace debate.
- The case for WordPress: Best for those wanting something flexible, customisable and free (in some cases).
- The case for Squarespace: Best for those wanting something easy to use, though it’s less customisable (perfect for basic sites).
Step 5: Prepare content and source images

Now it’s time to really dig in: what exactly will you be putting on your website?
- Copy. Whether you plan to hire a copywriter or prepare content on your own, drafting it up will help you or your designer lay out pages. Make sure to consider all of your pages — including about you, your business and your services. Remember to use spell check or Grammarly!
- Images. You can always take your own photos, or consider a stock photo subscription. There are stock image websites with free images such as Unsplash or Flicker, just make sure to read the fine print and give credit when necessary. Pay close attention to photo size, which can slow your site down if images are too large. If you need assistance with reducing image sizes, this handy guide can help.
Step 6: Use SEO and keywords to your advantage

- Start with SEO. Your website needs to connect with the right users. So, you need to have the right keywords on the site in order for Google and other search engines to direct visitors there. Neil Patel’s free SEO Tool Ubersuggest, can help you find the right keywords for your site which will help it attract visitors and increase traffic.
- Don’t forget about competition. Do your due diligence by researching competition in search engines with your keywords. In order to be the best, you’ll need to know what you’re up against. Understanding what your competitors are doing right (and wrong) will help you figure out to set up and maximise your own site.
Step 7: Get a start on social media

Whether you hate it or love it, social media can be a powerful step to success in many markets.
- Claim social media handles. Whether you’re ready to fully set up your pages or not, you should immediately claim your social media handles. Depending on your brand, business model and target audience, you may want to start with networks like Instagram, Facebook, Tik Tok, Youtube, Pinterest, Linkedin and Twitter.
- Setup your pages. This part may take a bit longer, and it’s best to start with one at a time. Setting up your channels in anticipation of your website launch can work to your advantage. They can alert your target audience to your new webpage, increasing traffic.
- Create a social media strategy. When considering a social media strategy, make sure it offers value to your target audience. Strategies vary greatly by network, but one solid tip is consistency. Have a plan and execute it regularly. And make sure to link back to your website whenever possible in order to drive traffic to the site.
Step 8: Channel your design inspiration
Whether you have aptitude for design or not, this is the fun part — it’s time to get creative! And don’t worry if, well, you have no clue. With a little research and time, you can easily figure out what you like and what you don’t.
- Start a list. Design inspiration can be as easy as picking your preferred websites. It’s best to go with immediate feelings or gut instinct here. The moment you see a website — do you love it? Hate it? Easy on the eyes? Jarring colours? Too busy or just the right amount of simplicity? Choose your favourites and then figure out what it is you like about them.
- Remember, it’s not just about aesthetics. This is also a good time to figure out what’s important to you in a website besides just appearance. Is having an eco-friendly or sustainable website important to you? Is a super speedy website essential (nobody wants to wait for a slow website loading these days)? Do you want a focus on images? Or prefer more text?
- Use Pinterest. Pinterest makes it easy to create a digital mood board with everything you like. Save what you love online to your boards, which can offer insight on how to design your own website.
- Browse web design sites. Once you’ve figured out what you love (and what you don’t) and set up your moodboard of ideas, sift through web design sites like Awwwards to find a style that fits your vision. This will also alert you to any website design trends you may want to utilise for your own site.
Step 9: Prepare your branding
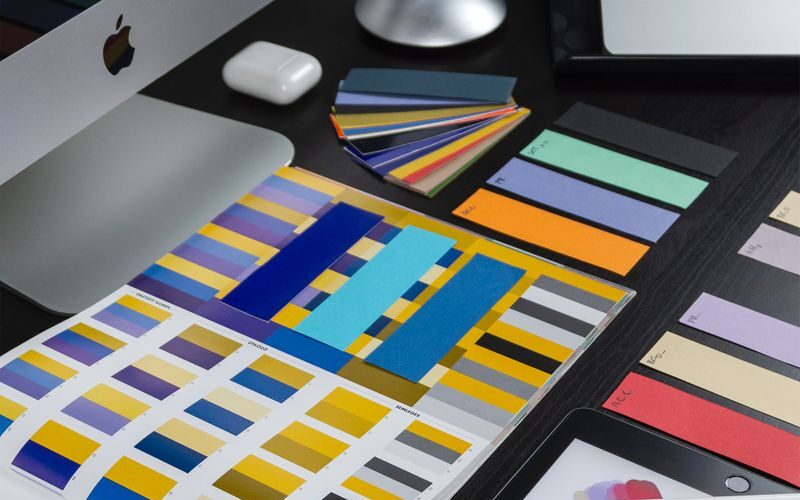
Consistent branding will help users get to know you and recognize your brand.
- Create logos, colours and fonts (or a vision for them). Revisit that Pinterest mood board or the websites you love to think about what colours and fonts work best with your brand. Consider a custom logo design that fits your brand image.
- Hire a graphic designer. If a logo is important to you, hiring someone can ensure it’s done right if you aren’t super knowledgeable in this area. If you feel confident to do this step on your own, by all means, DIY!
- Finesse the tone. Make sure the copy and images you’ve selected on your site fit with your brand. Consistency in this area will ensure you’re staying in line with your target audience.
Step 10: Set up your site: Hire a web designer or DIY

The moment of truth has arrived: it’s time to set up your website.
- The case for DIY: It’s cheaper to set up your own website, but much more time consuming. It may be frustrating to run into roadblocks along the way, and these can cause delays in your launch.
- The case for hiring a web designer: This is an investment. Of course, it will cost you money, but likely much less stress, time and worry, allowing you to focus on the other aspects of your business. If you do decide to go with a designer, find one you feel can make your vision a reality. Make sure to provide your designer with all your ideas, content, keywords, branding vision, social media channels etc. The more information you can give, the more likely it is that your website will be designed exactly how you envisioned.
Want to design a new website? To get started, contact me. I’m available for hire on a freelance or contract basis, and it would be my pleasure to make your website vision a reality. Contact me here for information, details and pricing.
* An affiliate link to a company I personally use and recommend. I’ll receive a small commission if you sign up with them but it won’t effect the price you pay.
